Yes. I listen to pop songs from the seventies. Deal with it. 😎
Anyway, I have another fairly easy DIY to post today. I can't find the original post for this, but there are a few of these floating around the internet. I had this idea pop into my head to make armor, and then I saw a cool tutorial for shoulder pauldrons. So, then I got this great idea to make more armor. So, I decided on something easy- namely, bracers. Or arm cuffs. Whichever you choose to call them. This is a time consuming (but easy) project with DOZENS of variations. I'll post on some of them as I make them, but for now I just have a pair of basic lace up bracers.
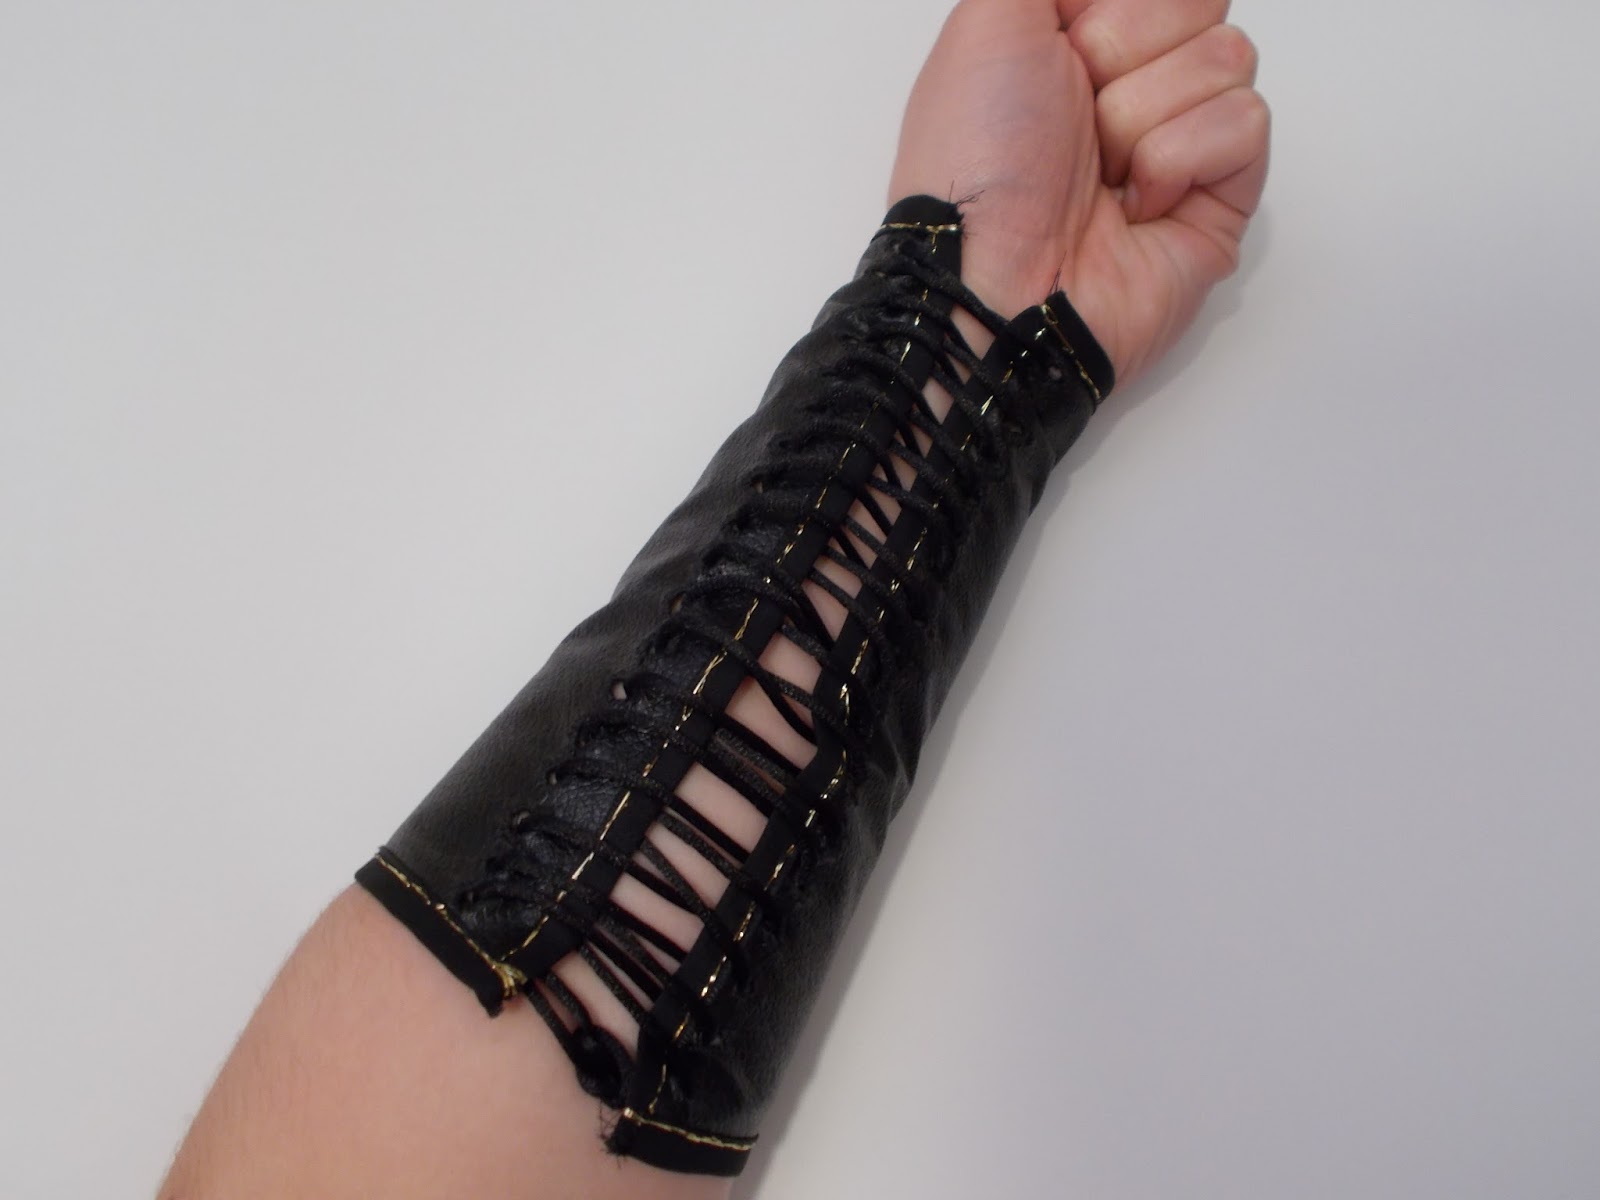

Neat, huh?
For now, I'll focus on telling you how to make the pattern.
I used wax paper, but parchment paper or tissue paper would work all right too.
Start by ripping off a large sheet. Then, take your measurements. This basic bracer requires three measurements. More elaborate designs may require more. Anyway, measure around you arm where you want your bracer to start...

And again where you want it end.

You can eyeball this, or make a mark on your arm, but then measure straight up between your two points.

Alright, you should have made a note of your measurements, because now we need them. Starting on the straight edge of your paper (this is an edge you haven't EVER had to cut), measure either the top or bottom length. I did the bottom one (the longest one around). Then, using a ruler, draw a line straight up from the middle of this edge in the length you want the bracer to be.
Determine the middle point of your shorter measurement, and draw a line straight across the line you just drew, so you have a capital T. Connect the endpoints on either side so you have a trapezoid.
Cut the pattern out, and that's it! You've made a pattern!
It should look like this...

Until next time! 😢🙋👻👼👽💤💣💢💞


No comments:
Post a Comment